

【2026 Printing Proof Guide】Digital vs. Press Proof Cost Assessment & 3 Major Defense Lines to Avoid Printing Pitfalls
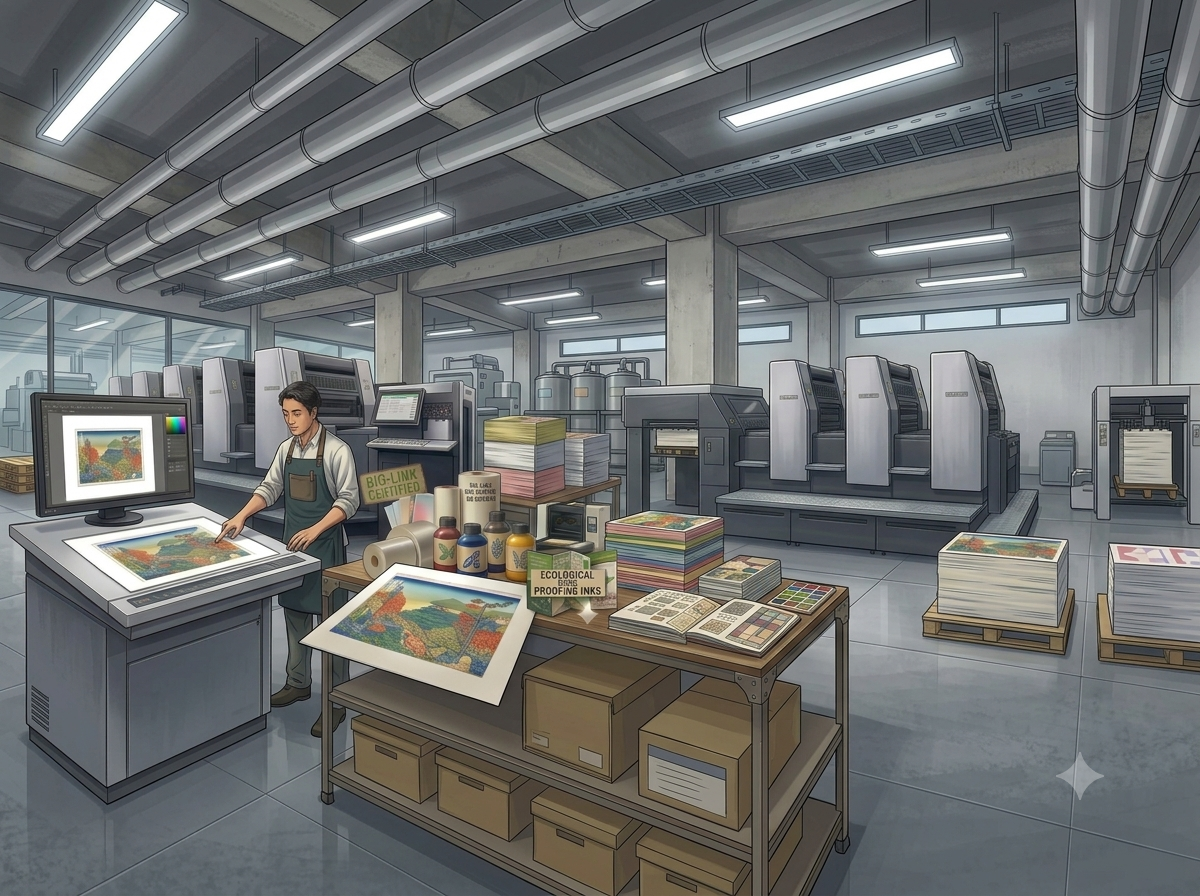
Before placing an order for business cards, flyers, posters, or brand packaging, "proofing" is the step most frequently rushed or overlooked by clients—yet it is also the stage where things are most likely to go wrong.
Many business owners or designers working with printing vendors for the first time mistakenly assume that "if it looks good on screen, it's good to go." It is only when they receive the final bulk production that they realize with horror that the colors are severely off and the paper texture is completely wrong.
At this point, the cost and time required to reprint the entire batch is often dozens of times higher than the proofing fee they initially tried to save. This article provides an in-depth breakdown of the core differences between digital and press proofing, the industry's pricing logic, and a complete decision-making framework to help you master key milestones before ordering and steer entirely clear of printing disasters.
The Two Main Types of Proofing: Digital Proofing vs. Press Proofing
Understanding the fundamental differences between these two methods is the first step in formulating a printing budget and selecting finishing options:
1. Digital Proofing
- Technical Principle: Utilizes high-precision, calibration-grade inkjet printers to generate output. It is primarily used to verify layout, text/graphic positioning, and general color accuracy.
- Key Advantages: Highly cost-effective with an exceptionally fast turnaround (typically available for pickup the same or next business day).
- Core Limitations: Cannot simulate the actual tactile feel of the final production paper stock, nor can it showcase any post-press finishing effects (such as matte/gloss lamination, embossing/debossing, foil stamping, or actual die-cut shapes).
- Best Suited For: Verifying whether corporate brand colors clash, comparing subtle color adjustments after revisions, and standard specifications without complex finishing (e.g., standard flyers, event posters).
2. Press Proofing (Hard Proof / Matchprint)
- Technical Principle: Uses the actual paper stock, inks, and printing presses designated for the final production run to print a small-batch, standalone sample.
- Key Advantages: The ultimate method for verifying the closest match to the "final mass-produced product." It allows for the simultaneous validation of color, paper thickness, texture, and the final visual and structural effects of all post-press processing.
- Core Limitations: Because it involves plate-making and specialized setup, the base cost is significantly higher, and it requires 3–5 business days for production.
- Best Suited For: Brand-new structural packaging designs, premium business cards with special finishes, and flagship promotional materials with stringent color and quality requirements.
Quick Decision Framework: Which Proofing Method Fits My Project?
To help you evaluate quickly, we have summarized common printing and packaging scenarios in the table below:
| Printing & Design Scenario | Recommended Proofing Method | Yu Hao Printing’s Advice |
|---|---|---|
| First-time printing or brand-new packaging/product designs | Press Proof | Since there is no historical printing record for reference, you must verify the structure, paper quality, and overall visual effect. |
| Projects with post-press finishing (e.g., lamination, foil stamping, spot UV, die-cutting) | Press Proof | Digital proofing cannot simulate the light reflection, dimensional depth, or tactile feel of any finishing effects. |
| Extremely strict color requirements for brand identity or skin tones | Dual Confirmation (Digital + Press) | Establish a double line of defense to ensure that the color gamut performance during mass production matches expectations. |
| After file revisions (e.g., correcting typos, minor color adjustments) | Digital Proof | You only need to verify the corrected areas and minor color variations, saving both time and budget. |
| Repeat orders with identical layouts and materials | Skip or Digital Confirmation Only | Prior mass-produced items serve as historical color references and can be cross-checked directly. |
| Changing paper stock (same design file but switching to a different specialty paper) | Press Proof | Each paper type has unique ink absorption properties and base tones, meaning the final color expression will vary drastically. |
Printing Industry Standards: A Complete 5-Step SOP From Proofing to Sign-Off
To ensure your final printed product lands perfectly, please strictly execute the following Standard Operating Procedure (SOP):
- Step 1: Check File Format for Pre-press Requirements
Depending on the file format submitted, the printer's verification priorities will vary. Please handle the following three scenarios accordingly:
- PDF: Ensure it is a "Print-Ready PDF" (not a web or screen-optimized version). Key check items: Verify CMYK color mode, font embedding, and bleed settings (3mm on all four sides). PDFs exported from Canva or PowerPoint usually require re-processing.
- InDesign (.indd): The client must use the "Package" function before submission so that fonts and linked images are bundled together. Otherwise, missing links or font substitution issues will occur when opened by the printer. Also, verify software versions (newer InDesign files cannot be opened by older software versions).
- Illustrator (.ai): Verify that all text has been "outlined" (converted to curves), images are "embedded" (not externally linked), and artboard dimensions and bleed settings are correct.
- Step 2: Proactively Provide "Three Key Information Pieces"
Proactively inform the printer of: ① Paper stock type (e.g., coated, matte coated, or specialty art paper), ② Post-press processing items (foil stamping, lamination, scoring), and ③ The final application of the product (e.g., needs long-term light resistance, refrigerated food packaging, or standard business cards/flyers).
- Step 3: Clarify Cost Offsets and Scheduling
Before ordering, clarify: Can the proofing fee be deducted from or credited toward the final mass production order? Also, make sure the proofing turnaround time does not compress your scheduled product launch timeline.
- Step 4: Confirm Revision and Re-proofing Mechanisms
If errors are found after proofing and adjustments are required, will a secondary proofing fee incur? What is the absolute cut-off time for final modifications?
- Step 5: Enforce "Written Approval" to Secure Your Defense Line
Once the proof is verified as correct, ensure you explicitly reply via written record (Email, signed proof sheet, or communication logs) with: "Approved for mass production based on this proof." Keeping concrete evidence is the most effective way to safeguard the rights of both parties.
Industry-Standard Logic for Proofing Cost Assessment
- Digital Proofing: Typically charged based on output dimensions (e.g., A4, A3) and sheet count. It is highly affordable and ideal for tight budgets, checking copy/graphics, or multi-page layout reviews (e.g., manuals, flyers).
- Press Proofing (including finishes): Involves press calibration (color matching), plate-making, and manual setup, resulting in higher initial setup costs. At Yu Hao Printing, we offer tailored programs where proofing fees can be credited toward final mass production quantities for specific projects. We highly recommend inquiring about this prior to placing an order to map out the most cost-effective budget strategy.
- Expedited Fees: Requesting a turnaround time shorter than the standard window (e.g., within 24 hours) will typically incur rush fees. To save budget, it is best to factor proofing into your schedule early.
⚠️ Expert Reminder:
The "free proofing" commonly advertised in the marketplace often comes with strict conditions, such as minimum mass production order thresholds or material limitations. Be sure to carefully read the terms before signing or ordering.
3 Major Printing Defense Lines Every Brand Owner Must Establish
Line 1: Eliminate the "Screen Color Discrepancy" Blind Spot
Computer monitors display colors using the RGB color model (light-emitting), whereas printing uses CMYK inks (light-reflecting). These two models are fundamentally different on a physical level. Without proofing, a vibrant neon green on screen might turn into a dull, dark forest green when printed. Corporate CIS brand standards, in particular, must always be verified through physical proofing.
Line 2: Understand "Mass Production Tolerance"
Proofing is used to confirm the overall print direction and design placement. During actual high-volume mass production, factors such as press operating temperature, ambient humidity, and ink fountain tension come into play. Consequently, the printing industry standard recognizes a reasonable color variance tolerance of ±5%. Brands with meticulous color standards should explicitly state color-matching baselines in their contracts.
Line 3: Do Not Be Penny Wise and Pound Foolish
Bypassing proofing to place a direct mass production order just to save a minor proofing fee is a textbook definition of being penny wise and pound foolish. If a massive print run (such as thousands of posters or packaging boxes) is fully completed only for you to discover corrupted fonts, overlapping layers, or incorrect colors, the entire batch must be scrapped. Aside from the massive financial loss of reprinting, you risk severe damage to corporate reputation due to delayed product launches.
FAQ: Frequently Asked Questions About Printing Proofs
Q1: How much of a color accuracy gap is there between digital proofing and press proofing?
Q2: If I find that the color does not meet my expectations after proofing, can I demand that the printer re-proof it for free?
Q3: Is proofing necessary for standard business cards, posters, and flyers, or is it just for packaging?
Conclusion: Leave It to the Experts! Partner with a Trusted Printer
In the world of printing, knowing how to properly execute the process and understand specifications saves your brand far more time and money than trial and error ever will. If your packaging, business card, poster, or marketing collateral project is entering intensive preparation stages, syncing file specifications with a professional printer early on is the smartest risk-mitigation strategy.
Located in New Taipei City, Yeehaa Printing brings extensive industry experience to the table, specializing in high-specification color printing, business cards, flyers, brochures, posters, and various custom packaging solutions.
Our business footprint spans across Taiwan. Whether you are a startup brand or an established enterprise, we provide the most precise proofing advice and a high-quality backbone for your mass production needs.
📩 Ready to bring your products and visuals to life flawlessly?
Contact Yeehaa Printing today to review your pre-press specifications and receive a dedicated timeline and cost evaluation!
Related Information
CMYK, Pantone, and RGB: Color Conversion Pitfalls and Proofing Tips
How RGB, CMYK, and Pantone differ, why saturated colors shift in RGB-to-CMYK conversion, the gap between Pantone spot and simulated colors plus Adobe's licensing change, with a pre-flight checklist for print files.
Spot UV vs. 3D UV: Comparing Visual Effect, Texture, and Cost
Spot UV vs. 3D UV compared by visual contrast, texture, lamination and registration, and cost, with the common mistakes to avoid when planning business cards, catalogs, and packaging.
Cold Foil vs. Hot Foil: How to Choose by Material, Finish, and Cost
冷燙與熱燙怎麼選?本文從上箔原理、紙張與塑膠的材質適性、立體效果到製版與數量的成本結構,完整比較兩種金屬燙印工法,並整理常見誤區,適合設計師與品牌在規劃名片、型錄與包裝印刷時參考。
Paperboard, Corrugated, and Specialty Substrates: A Printability Comparison
A printability comparison of paperboard, corrugated, and specialty substrates: how material choice shapes print method, color, and finishing limits for packaging projects.
 中文
中文